1.打开管理员powershell
执行命令
1
2
3
4
5
|
PS C:\Windows\system32> cd E:\Blog
PS E:\Blog> hexo new "新建一篇文章的命令"
INFO Validating config
INFO Created: E:\Blog\source\_posts\新建一篇
|
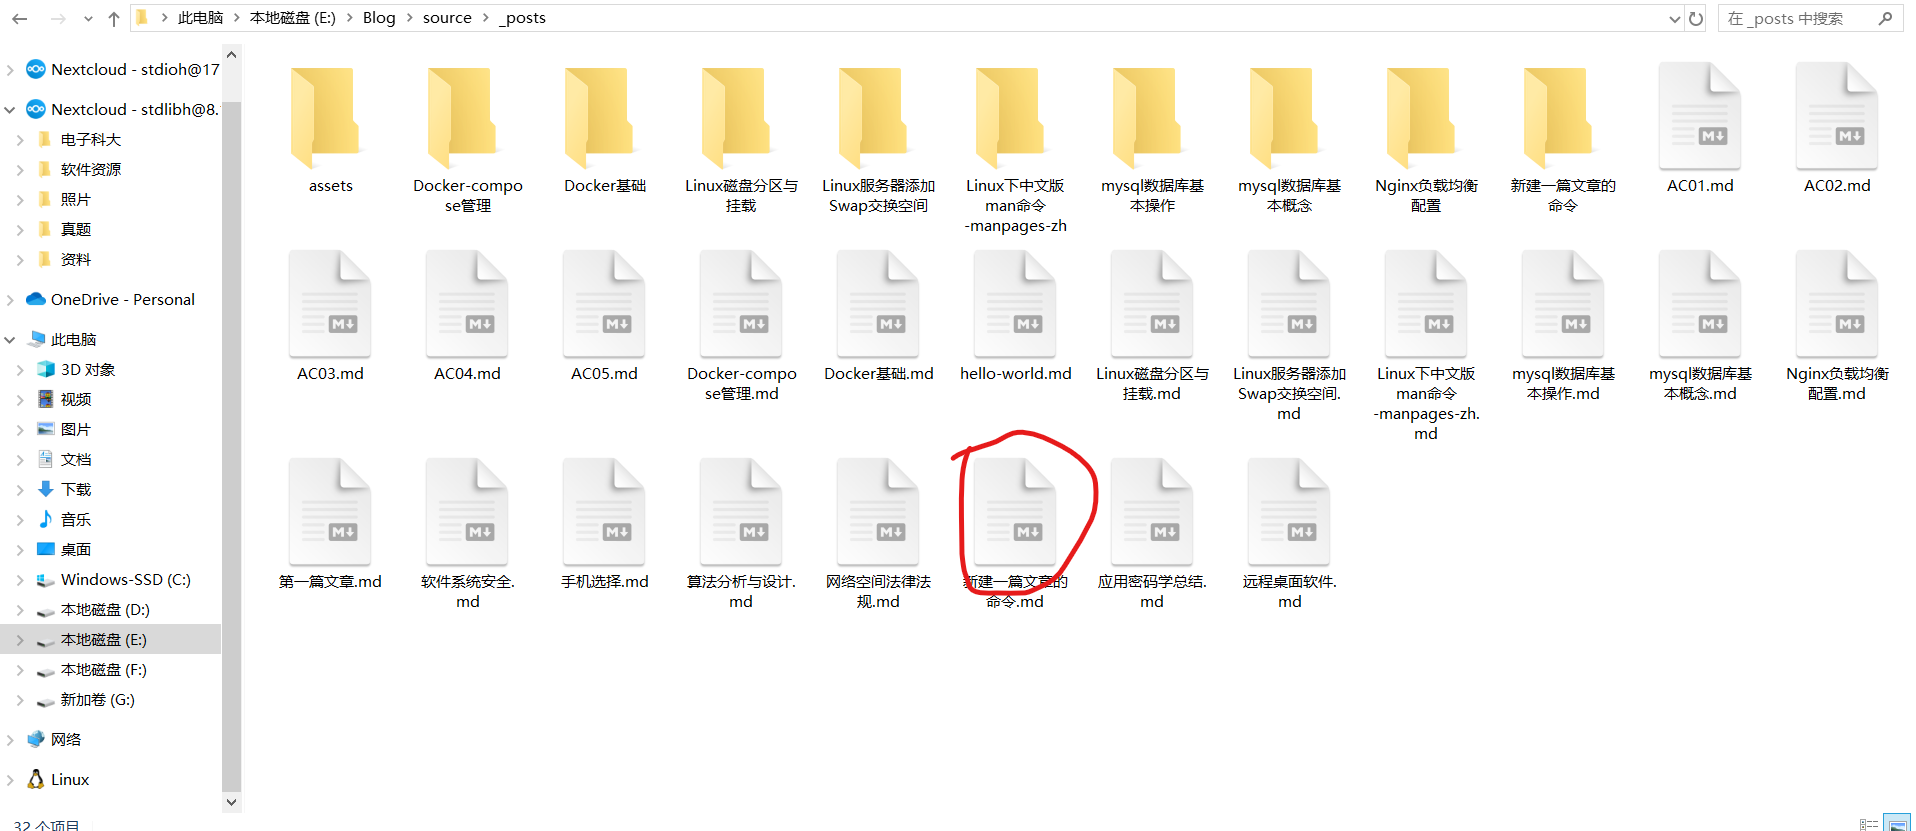
2.去博客根目录下的E:\Blog\source_posts
根目录结构(E:\Blog为你安装hexo的目录)
打开新建的文章
使用编辑器进行编写,推荐Typora
3.推送博客到服务器
执行命令
1
2
3
4
5
|
PS E:\Blog> hexo cl
INFO Validating config
INFO Deleted database.
INFO Deleted public folder.
|
1
2
3
4
5
6
7
8
|
PS E:\Blog> hexo g
INFO Validating config
INFO Start processing
INFO Files loaded in 1.84 s
INFO Generated: about/index.html
INFO 297 files generated in 1.11 s
|
1
2
3
4
5
6
7
8
9
10
11
12
13
14
15
16
17
18
19
20
21
22
23
|
PS E:\Blog> hexo d
INFO Validating config
INFO Deploying: git
INFO Clearing .deploy_git folder...
INFO Copying files from public folder...
INFO Copying files from extend dirs...
[master d7809d4] Site updated: 2024-04-25 23:31:33
33 files changed, 959 insertions(+), 264 deletions(-)
create mode 100644 "2024/04/25/\346\226\260\345\273\272\344\270\200\347\257\207\346\226\207\347\253\240\347\232\204\345\221\275\344\273\244/index.html"
create mode 100644 img/course/image-20240425232632671.png
create mode 100644 img/course/image-20240425232739254.png
[email protected]'s password: 在这里输入密码
Enumerating objects: 141, done.
Counting objects: 100% (141/141), done.
Delta compression using up to 16 threads
Compressing objects: 100% (52/52), done.
Writing objects: 100% (76/76), 280.38 KiB | 5.50 MiB/s, done.
Total 76 (delta 35), reused 0 (delta 0), pack-reused 0
To masanli.online:/home/git/blog.git
394df28..d7809d4 HEAD -> master
branch 'master' set up to track '[email protected]:/home/git/blog.git/master'.
INFO Deploy done: git
|
推送成功访问网站进行检查
一级标题快捷命令Ctrl+1
二级标题快捷命令Ctrl+2
新建代码块Ctrl+shift+k
插入图片
插入图片直接Ctrl+v
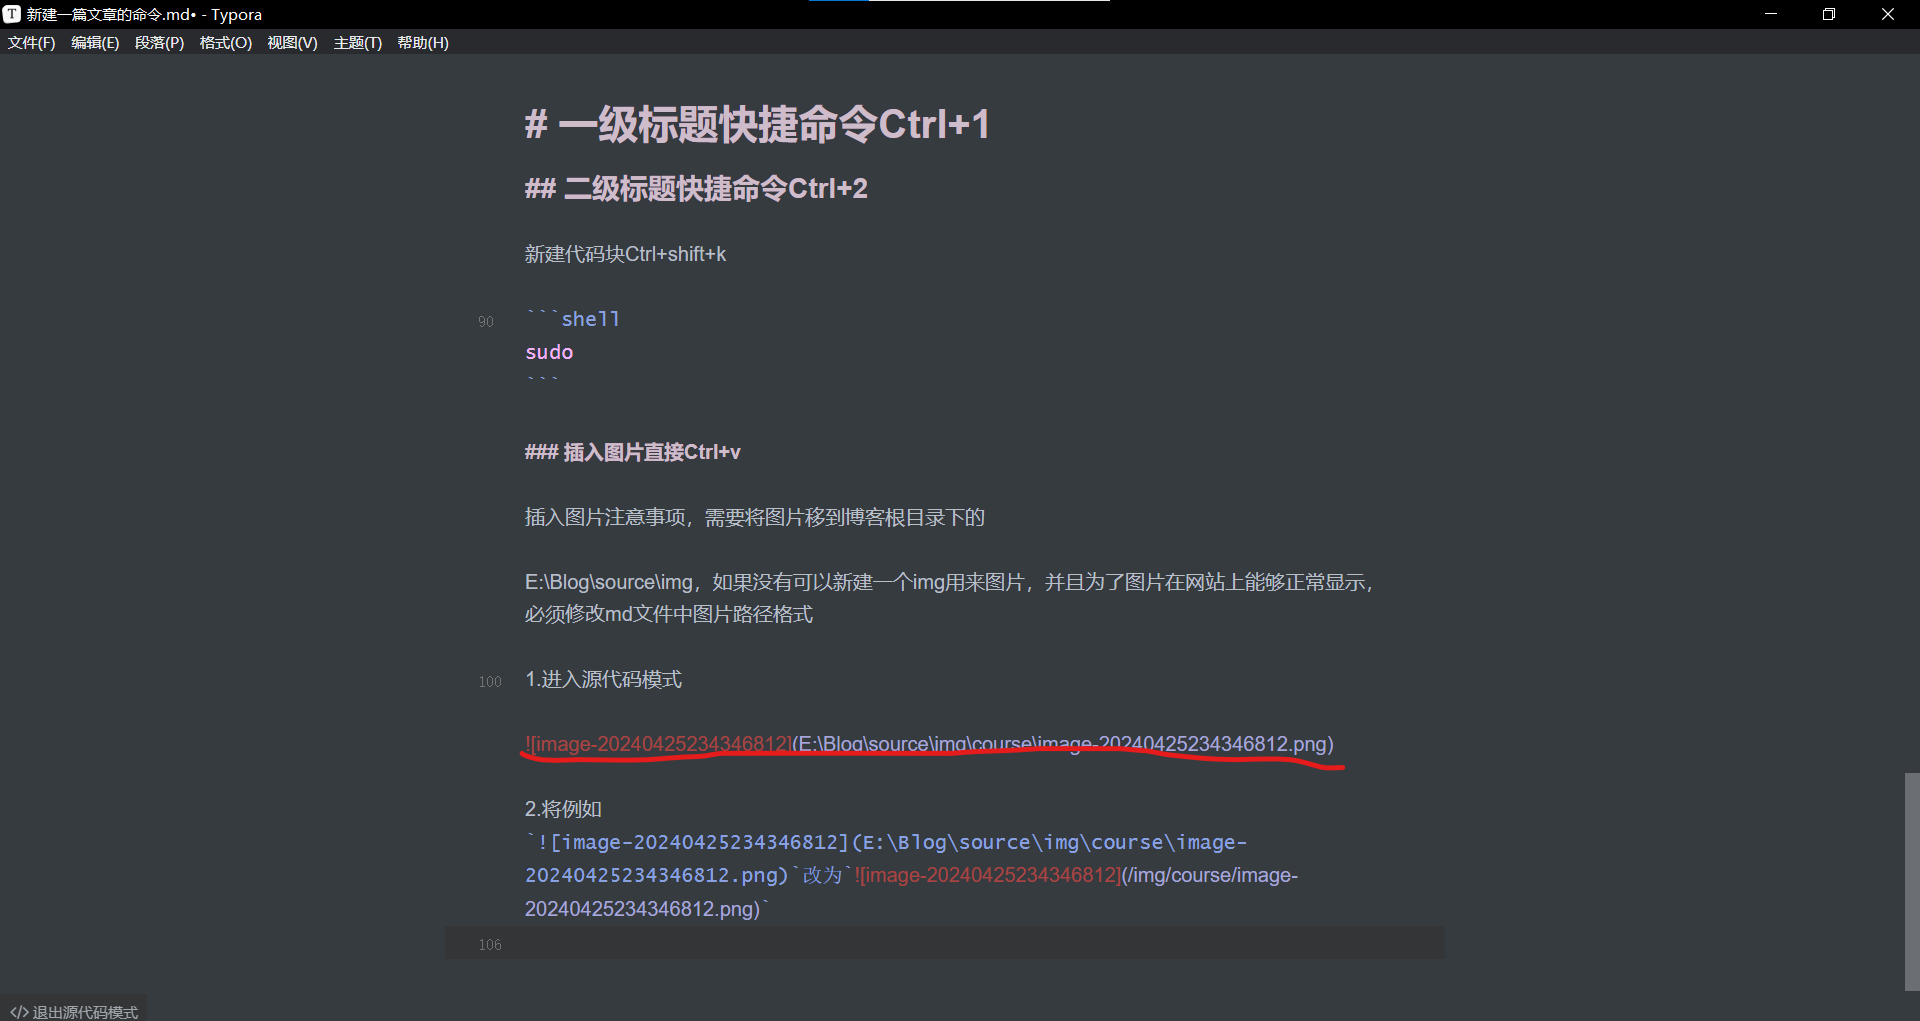
插入图片注意事项
需要将图片移到博客根目录下的E:\Blog\source\img,如果没有可以新建一个img用来图片,并且为了图片在网站上能够正常显示,必须修改md文件中图片路径格式
步骤
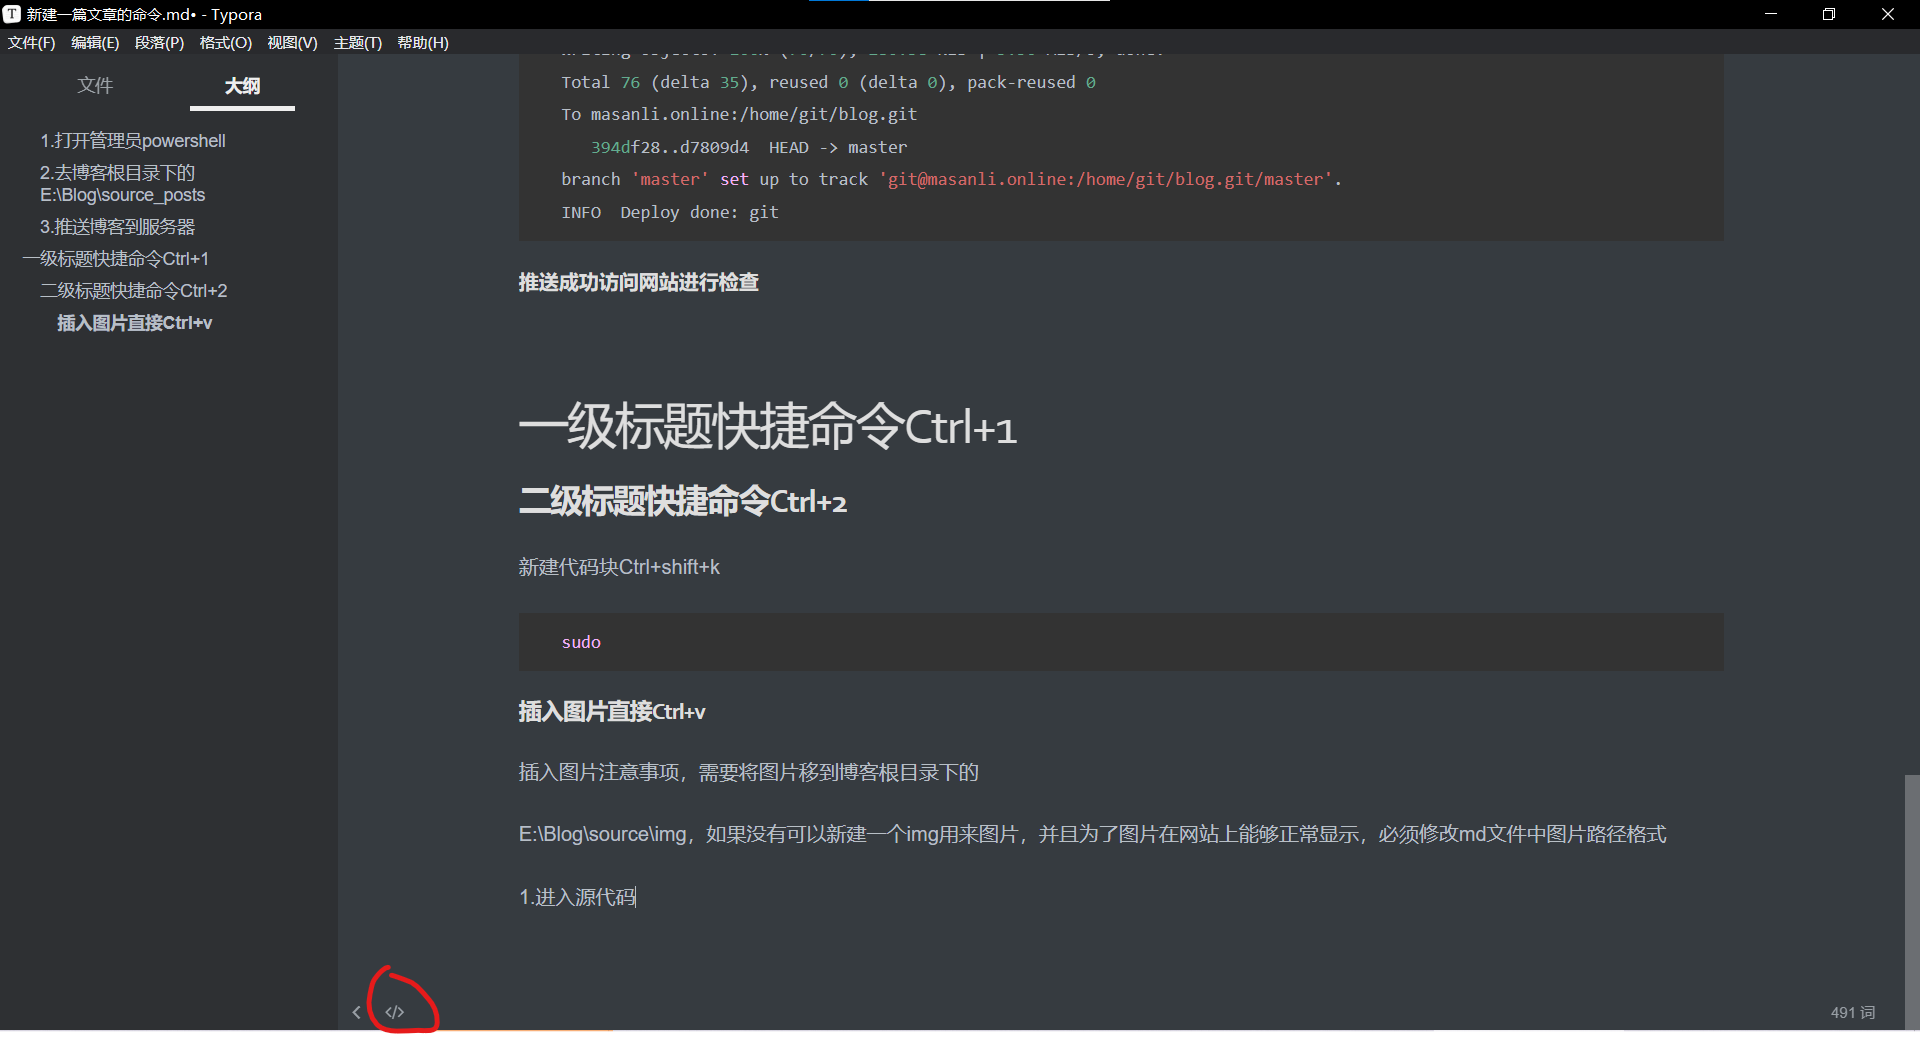
1.进入源代码模式
2.将例如改为的格式
3.便捷方法:打开typora 文件->偏好设置->图像中的图像默认保存位置改为E:\Blog\source\img(按自己博客目录的文件夹名称为准)
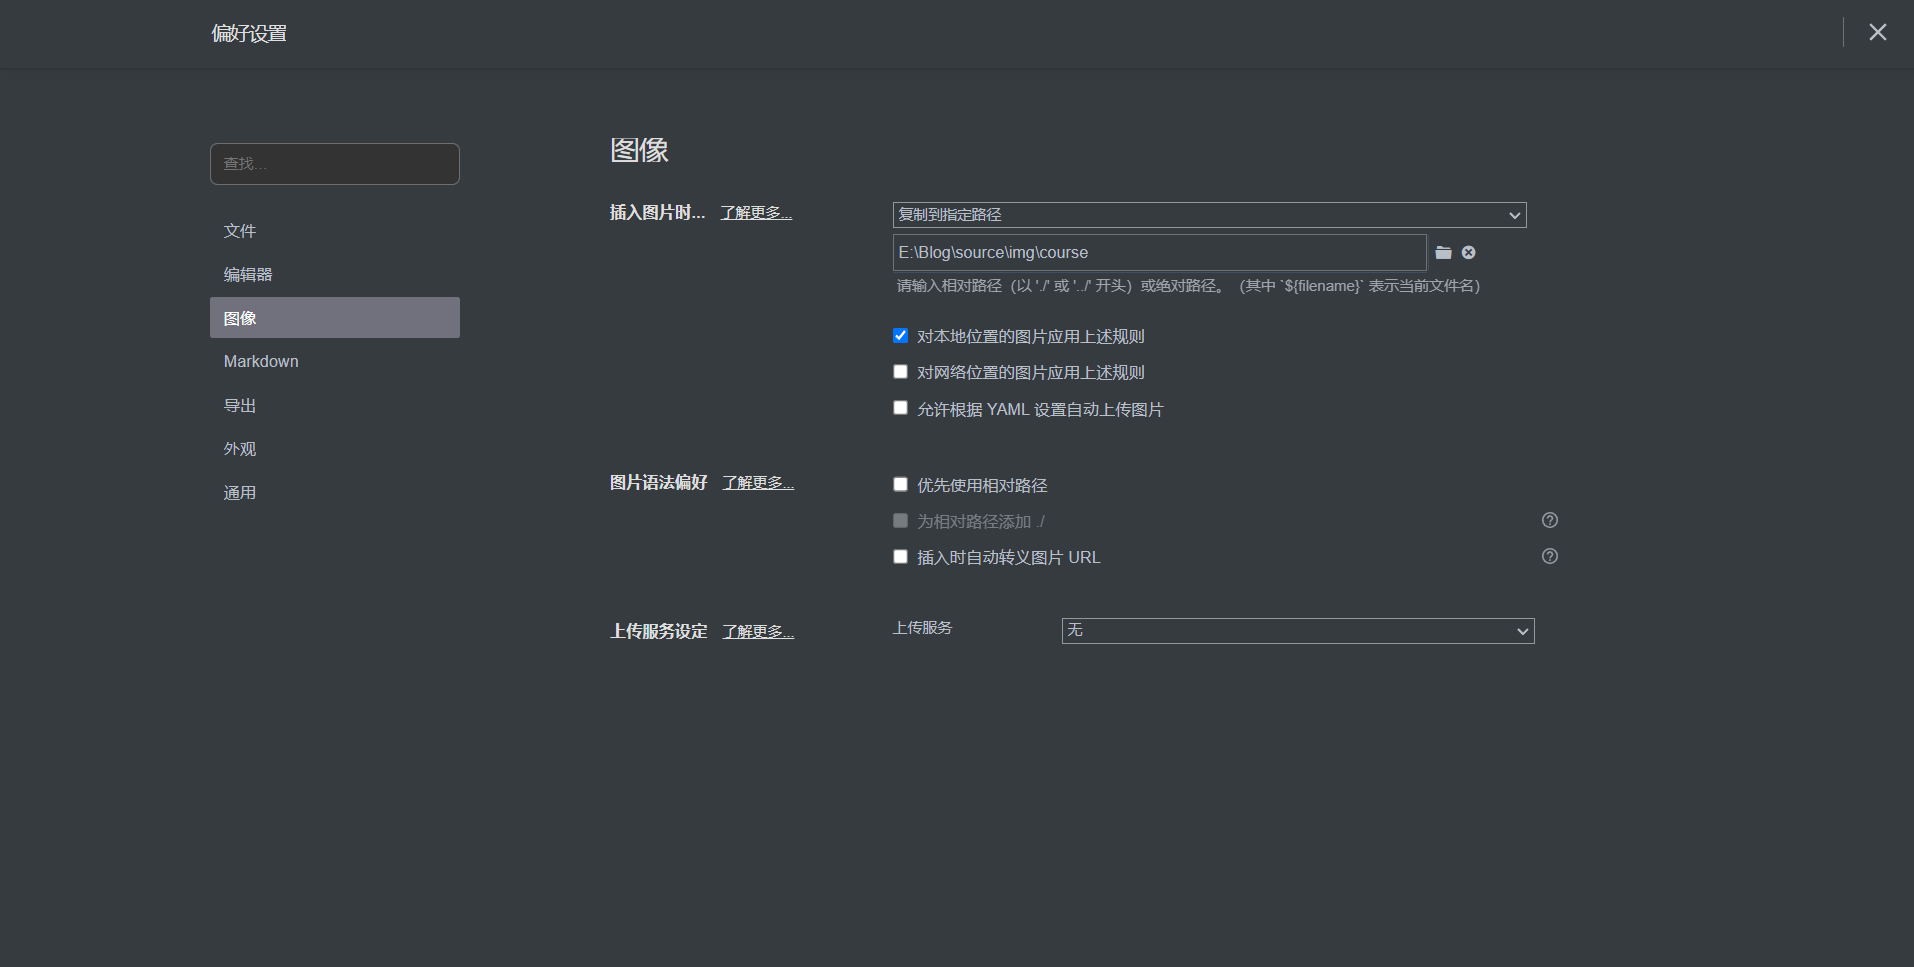
这样,只需在编辑好推送前,使用typora带的查找替换功能将所有E:\Blog\source\替换为服务器对应路径/img/course/
再使用hexo命令推送上去就可以直接看到文章里面的图片了